IMMERSE YOURSELF
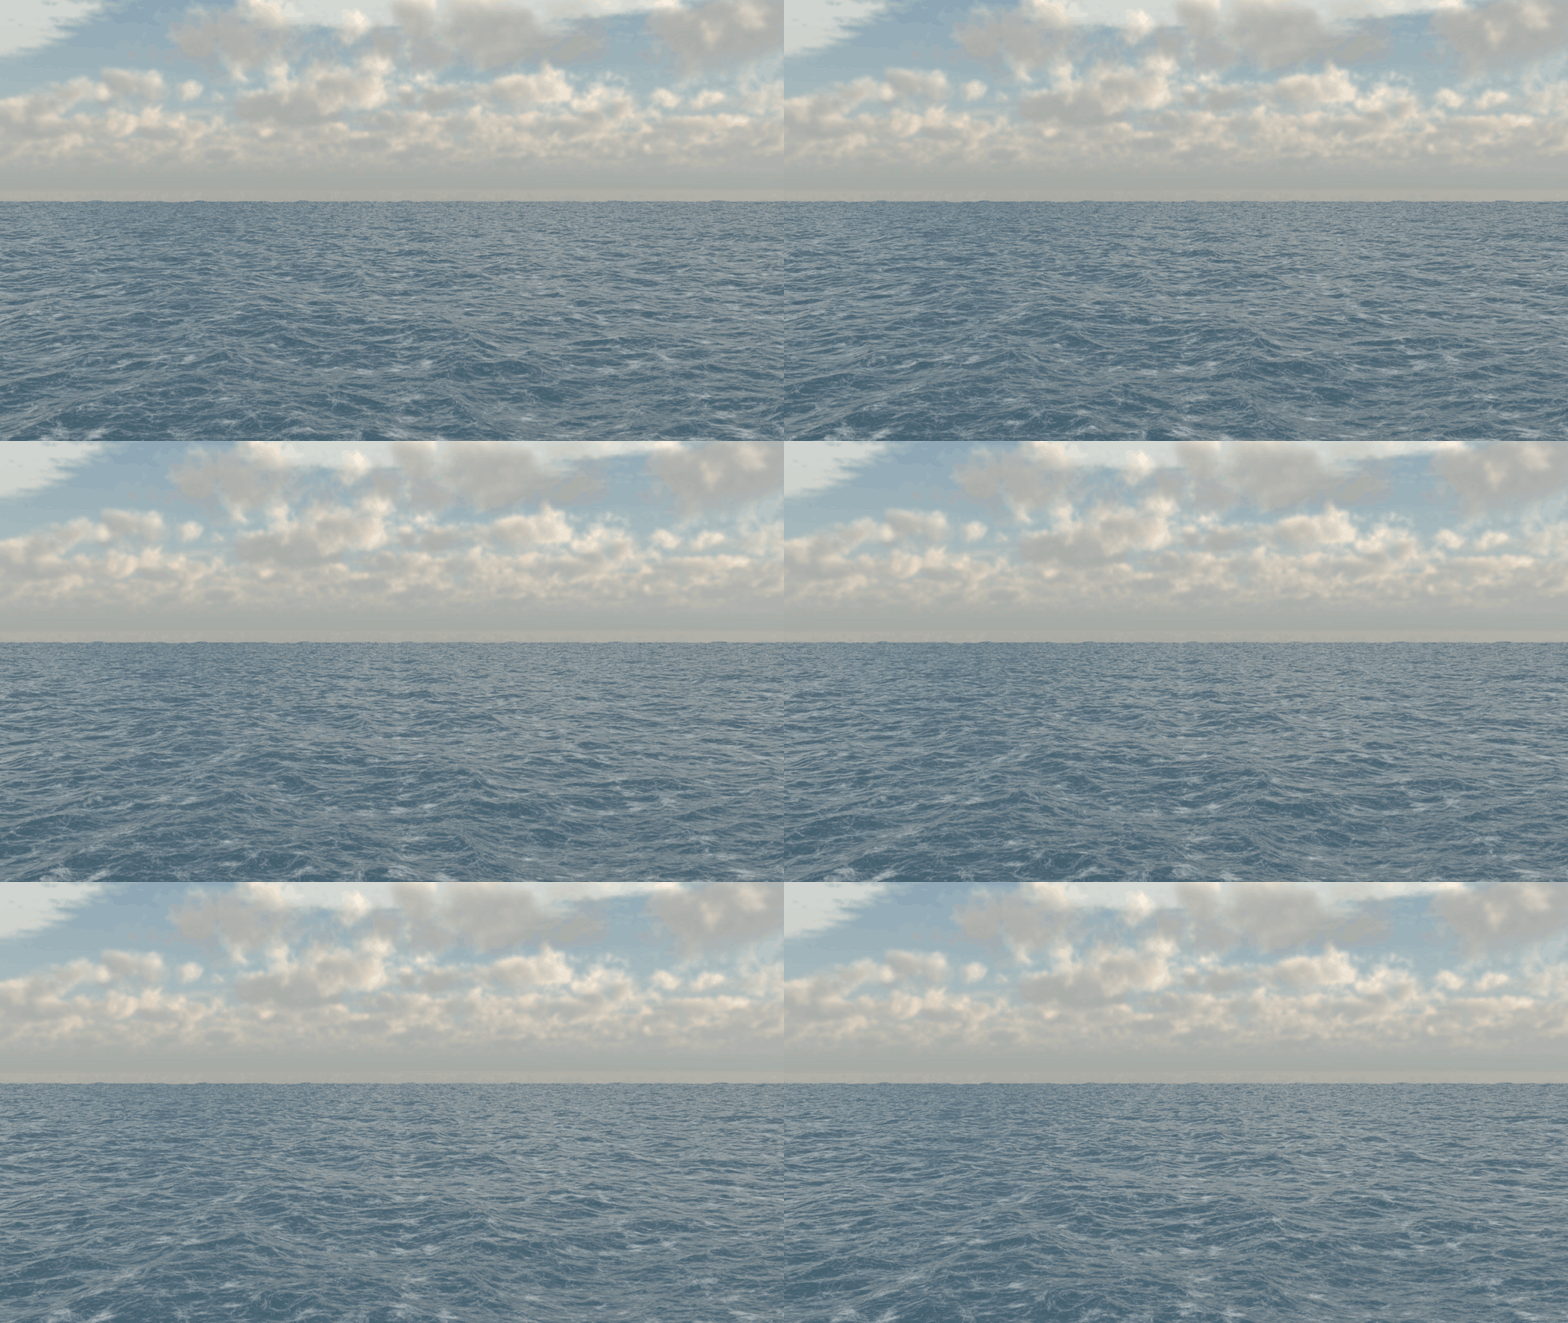
Immersive Design was a real chance to explore and enhance my modelling skills. I was able to use various plug-ins to create realistic environments, much like the ocean environment seen here.
The immersive experience would take place in a remote ocean bay, where mountains would tower around the player from a distance; however, natural wildlife sound will be heard throughout the environments, drawing attention to specific areas, within the 360 environment. Such sounds would be birds tweeting, the wind, and the leaves rustling.
Not only did I aim to immerse the user in the experience, but to create a drastic contrast between environments, going from a 'light' environment, to a 'dark' one.
The mountains environment seen, was creating using a displacement map, that would allow myself to sculpt in Maya, where I could extrude detailed land masses, before lowering the poly count in ZBrush, so I could then use the environment in my immersive experience.
From here, I could paint the environment in ZBrush, for a more deatiled and realistic mountain environment.
The asteroid was created by distorting the vertexes of a standard cube, until it looked somewhat like a disformed asteroid shape. From here I then smoothed out the shape, and then molded the shape, trying to really encapture a realistic looking asteroid shape.
With my asteroid model asset, I began to add colour and texture, again, making my model more realistic in aesthetic. I used a 'Cloud' 3D texture, which I was then able to alter the attributes, so that the model would then appear to have a subtle bit of texture, relating to that of an asteroid or a rock.
To act as a form of visual movement, to grab the users attention, I created fish that would swim aorund the row boat that the user would be situated in.
I then needed to create the transitioning scene that would act as the bridge between each of the contrasting environments. When creating the 'bridge' between the scenes, I decided on creating an animation that could be related to that of jumping down 'the rabbit hole', in Alice in Wonderland. To create this effect, I created an abstract ring shape, before applying a MASH network to it, and attaching a nurbs curve for the ring shapes to follow, before looping the animation; making it look like the user is falling down the rabbit hole.
I began to create quite abstract shapes and animations to be spaced out around the second main environment.
Multiple if not all of the animations used the MASH plug-in, however some were simple, such as the ring of balls, for which, the balls will animate in the direction of the ring. Some however, were much more difficult.
Another one was a brick wall, using more features of the MASH plug-in, where I created a single brick shape, before multiplying itself within a certain radius, creating a ring shape, before multiplying again, to create the height of the wall. From here I created a 'random node', altering the positioing of each and every brick object; before which I attached a 'falloff object' to this node, so that the random node wouldn't occur, unless the falloff object were to collide with the brick wall. Fom here, I could animate the falloff object, to create a bizarre animation.
There was then also the wavey floor animation I created. Again, using the MASH plug-in, where I created a simple bevelled cube, which was then multiplied over a certain area, in a grid formation. From here, I attached an offset node and a color node, which both had a falloff object, allowing myself to manipulate the cubes as I see fit. Finally, I attached a 'spring node', which created a spring/bounce effect to the animation when manipulated; creating a more subtle and realistic looking animation.


